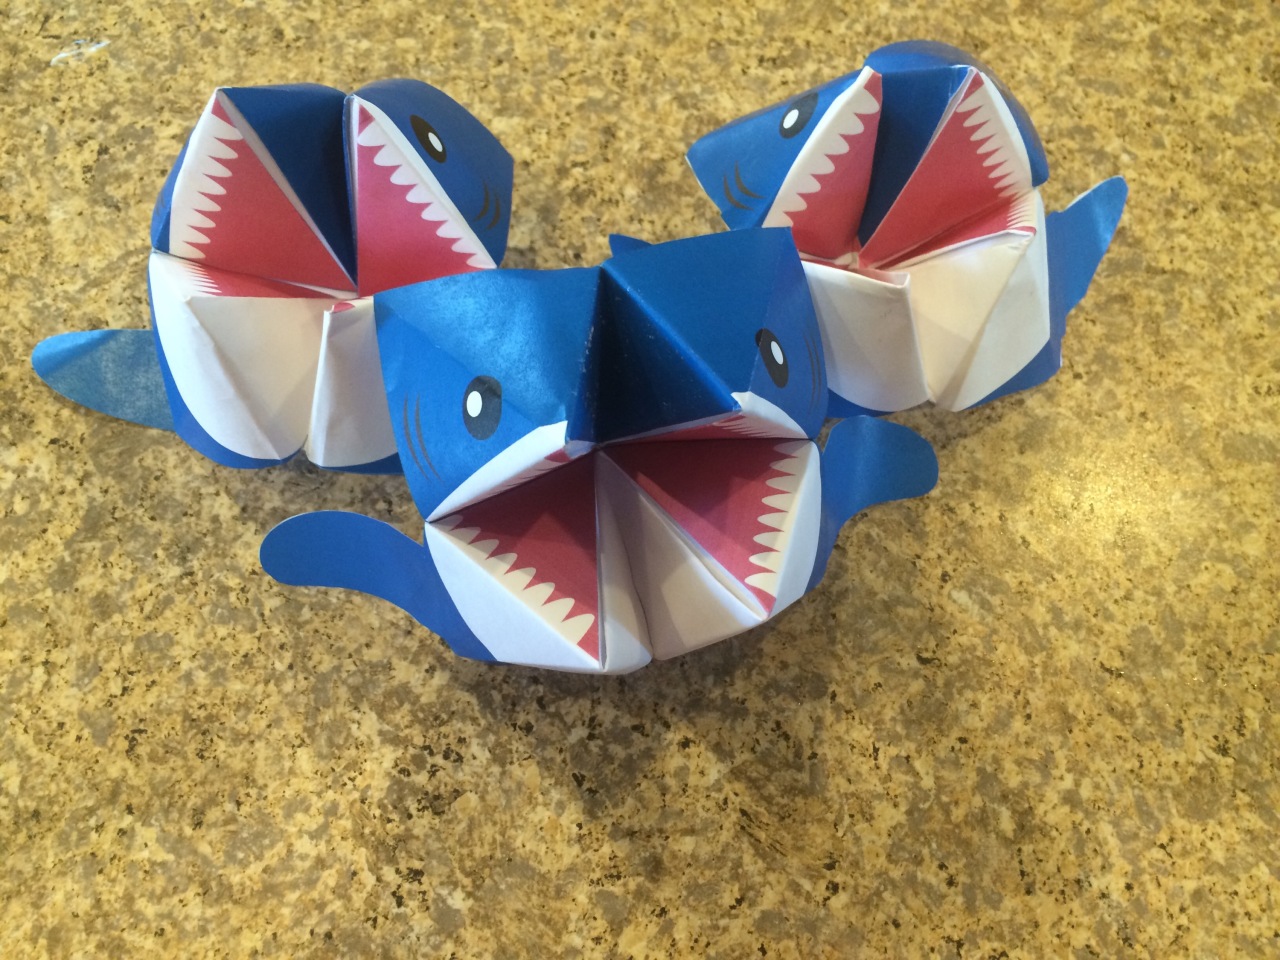
My daughter usually likes to have a summer sleepover. She also likes the Disney Channel Movie “Teen Beach Movie”. Well this year they are coming out with a sequel and what better night to have a big summer sleepover than on the night of the premiere of “Teen Beach 2”!
We are also going to “mini” celebrate one of her friend’s birthdays that evening as part of the whole shindig. And of course my daughter thought it would be just fabulous to have some “party” items to top off the party just right.
I will later share with you about the party itself after the party. But for now I am going to just be sharing a few “before hand” tips and also some FREE PRINTABLES for some party items and links to my shop to purchase the other party items.
First up for the FREE printables:
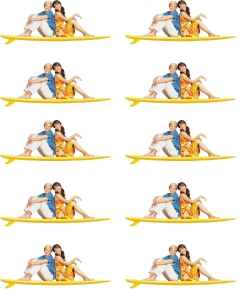
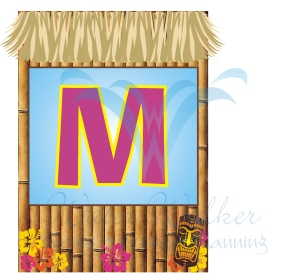
She decided she’d like the two main characters picture as some of her toppers for the party. You can use these as cupcake toppers, favor stickers or sealers, straw toppers, toothpick toppers, Favor bag stickers, & more!
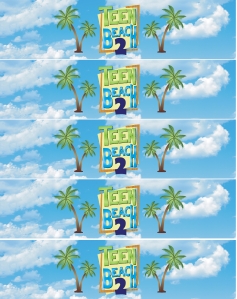
Next up she decided on a design for some bottle wraps.
You can use these to wrap water bottles or your plastic drinking bottles as well. You could even top the lid with one of the character toppers above to give the bottles a little extra flair.
We will most likely be wrapping these around our water bottles and drink bottles and then we will tie some raffia around the bottle neck and probably embellish with one of my shops tropical toppers (not offered for here – but available to purchase – please read on and I will show samples and list links for purchase).
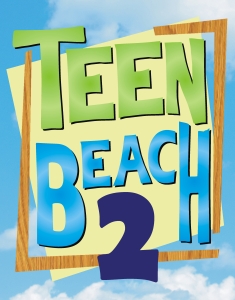
Here is an 8.5 x 11 Teen Beach 2 Sign. You could print several of these our and place around the party area.
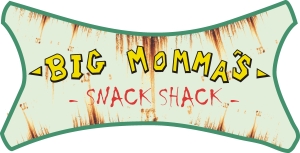
Here is an 8.5 x 11 Sign for “Big Momma’s Snack Shack”
You can place this on, near above or around your food / snack table for an added bit of fun for the party!
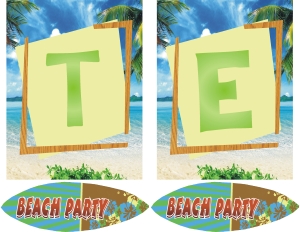
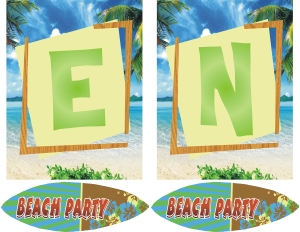

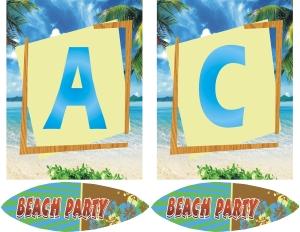
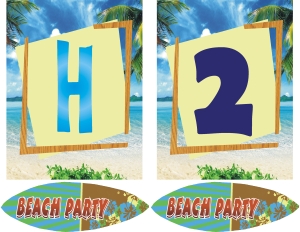
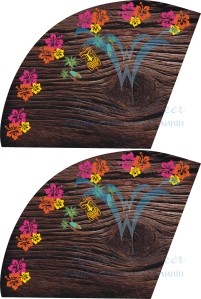
This is a banner you can print, cut, and hang at your party. We are using the surfboard pieces as mini signs under the banner. I will tie them to the lower parts of the banner pieces. You can do this, or just trim around the piece and leave them as they are, cut off the surfboards, or cut and use the surfboards as toppers or tags!
Those are all of my FREE printables I am offering. Enjoy!
We will also be using some of my printables I offer in my shop to also decorate the party. Here are the samples of those and if you are interested, just follow the link under the sample picture and it will take you to my shop to purchase the digital download of those items.
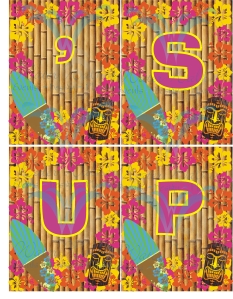
This is a personalized banner that we will be using as a name banner and possibly other wording banner. The listing allows up to 6 characters to be sent to you with purchase. The banner runs $7.00 for the download. The banner runs $7.00 for the download. Please allow 24-48 business hours (M-F, 9-4) to receive your downloads via email. Simply click here to find this banner.
Here is another personalized banner that can be ordered. We will be using this also as a name banner or other type wording (not sure on wording as yet). This listing as allows up to 6 characters to be sent to you with purchase. The banner runs $7.00 for the download. Please allow 24-48 business hours (M-F, 9-4) to receive your downloads via email. Simple click here to find this banner.
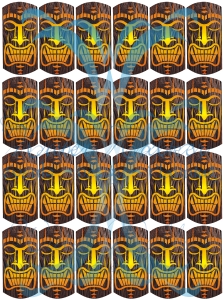
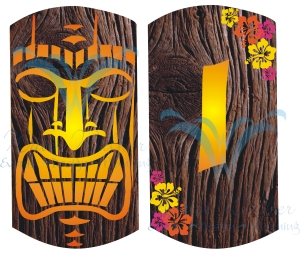
Tiki head toppers are another item we will be using. These are going to top our candy fruit kebobs. You can use them to top all sorts of things: cupcakes, treat sticks, baggie stickers, etc. This art is available as an instant download that is sent directly to your email upon purchase. It is only $1.50 which is a great deal! You can’t purchase toppers at the store for that price! And you can print as many as you need for you one time personal use! (please see copyright usage allowances on my shop policy page). Simply click here to purchase these toppers.

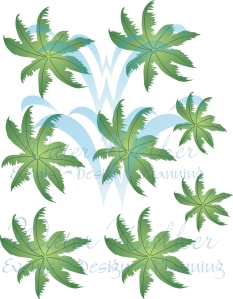
We will be using these Palm Tree toppers to go on some of our straws and treat sticks. You can use them to top all sorts of things: cupcakes, treat sticks, baggie stickers, etc. This art is available as an instant download that is sent directly to your email upon purchase. It is only $1.50 which is a great deal – especially as you get two of these sheets for that price! You can’t purchase toppers at the store for that price! And you can print as many as you need for you one time personal use! (please see copyright usage allowances on my shop policy page). Simply click here to purchase these toppers.
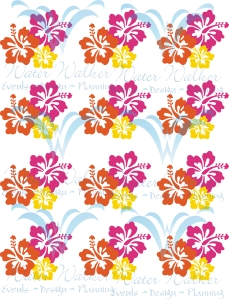
Hibiscus flower toppers will also be used atop some of our straws and treat sticks. We will probably use some of these on some toothpicks as well. You can use them to top all sorts of things: cupcakes, treat sticks, baggie stickers, etc. This art is available as an instant download that is sent directly to your email upon purchase. It also is only $1.50! And you can print as many as you need for you one time personal use! (please see copyright usage allowances on my shop policy page). Simply click here to purchase these toppers.
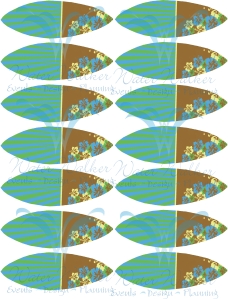
These surfboard toppers are going to make a cute addition to our party. We will probably use them on top of our “sandy beach” cupcakes and also maybe on some of our straws as well. You can use them to top all sorts of things: cupcakes, treat sticks, baggie stickers, etc. This art is available as an instant download that is sent directly to your email upon purchase. It also is only $1.50! And you can print as many as you need for you one time personal use! (please see copyright usage allowances on my shop policy page). Simply click here to purchase these toppers.
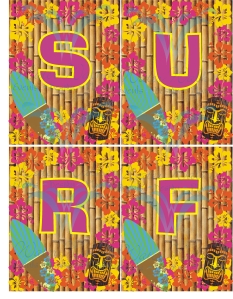
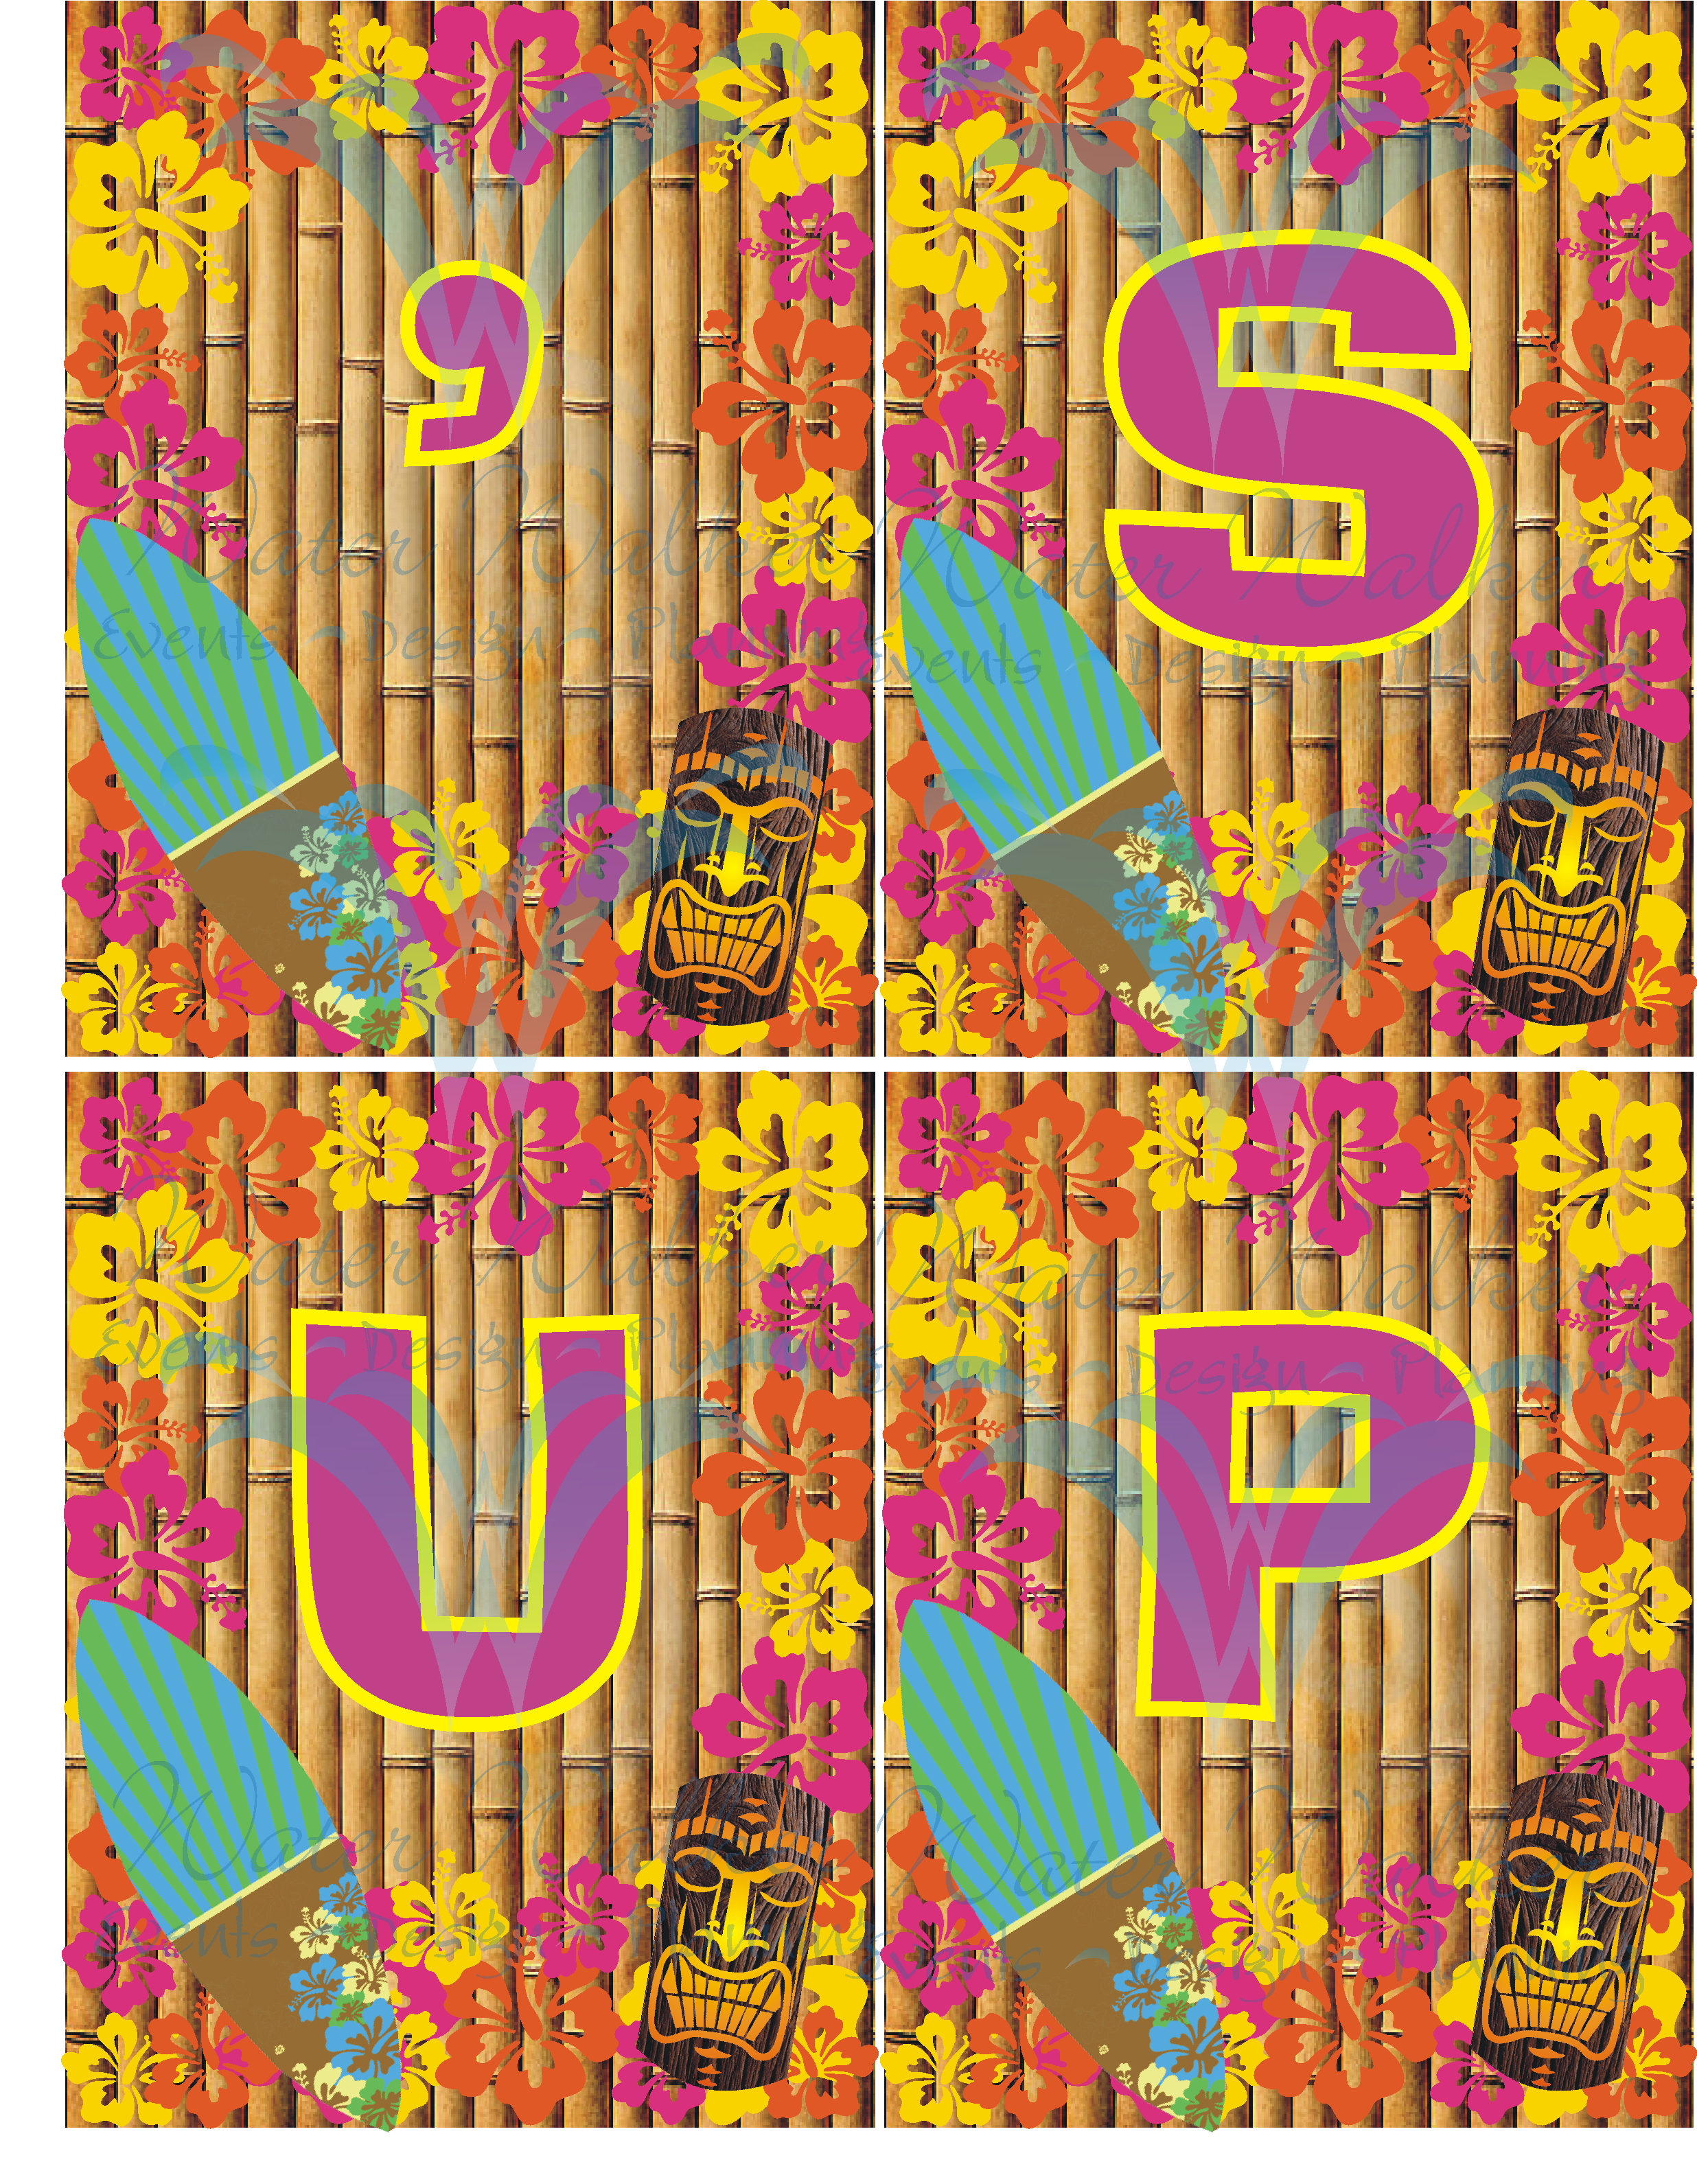
We will be hanging this “Surf’s Up” near our food table. It will make a great addition to any beach or luau themed party! You can get this mini banner printable for only $2.50 and it is an instant download!! Simply click here to purchase this banner art.
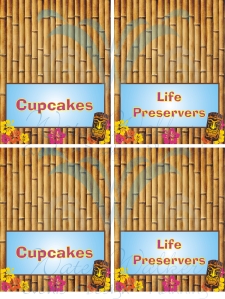
These personalized tiki style food tents will make a great addition to our luau party table. If you are interested in purchasing a set of 8 personalized tents (2 sheets of 4 up) just click here for the link to this item!
Lastly, we will be serving our popcorn, chips, and snacks in these adorable wooden tiki style popcorn/treat cones. I love to take my cones and string them on the front of a treat table, on a side wall, or even above the table and it becomes a banner type decoration as well! If you are interested in purchasing this cone art printable, simple follow the link here.
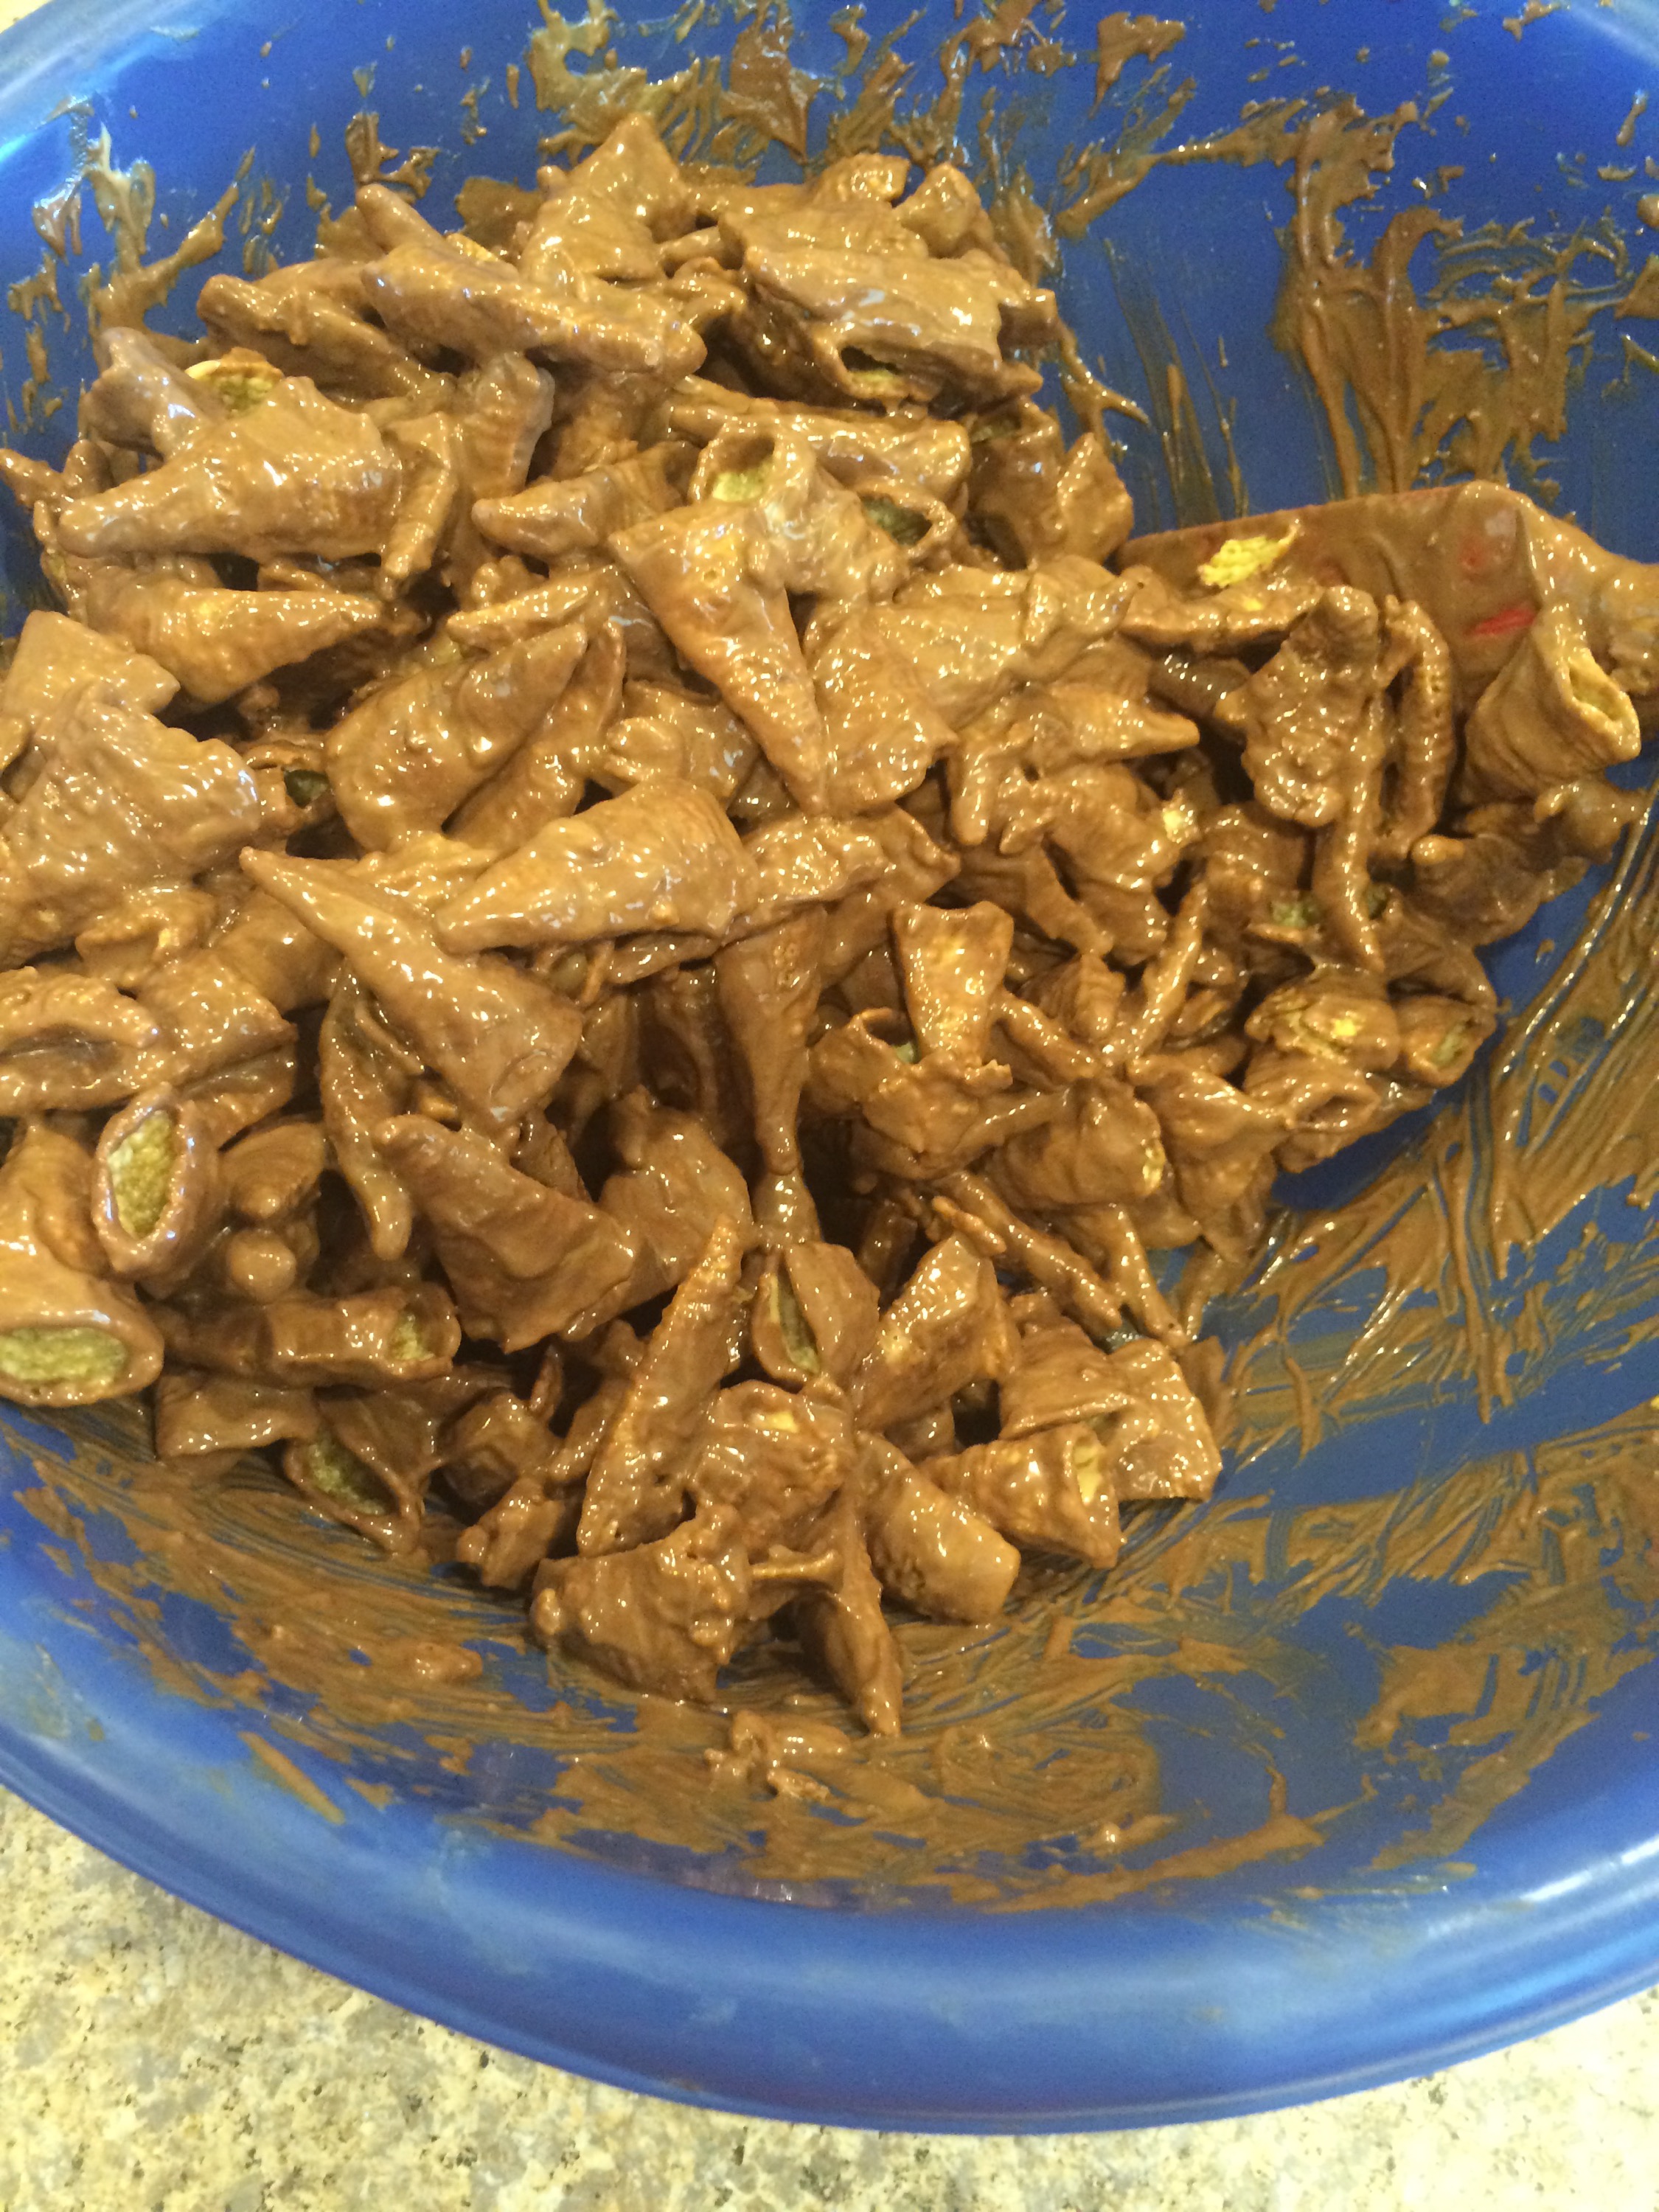
As far as food, we haven’t settled just yet on our exact lineup. Some ideas we are looking at are: candy fruit slice kabobs, Tiki totem pretzels, Pizza, chips and possibly goldfish (for fish and chips), beachy style cupcakes with a blue sea of icing and crusty grahams beachline, flip flop cookies (nutter butters with a bit of icing), Dipped marshmallows, licorice sticks for “pool noodles”, Gumballs for “pearls” or beach balls, and if I get really brave and ambitious, we may do some beach ball and surfboard cookies – but that might be pushing it! We will serve “Lagoon” punch and “Tide Waters” water bottles. And possibly might also have a tropical punch as well.
I know my daughter is really looking forward to this mini party. And as always, I am too! I can’t wait to share all of the finished details and pics with you once the party is over!
I hope you enjoy the FREE printables!
~ Shawna


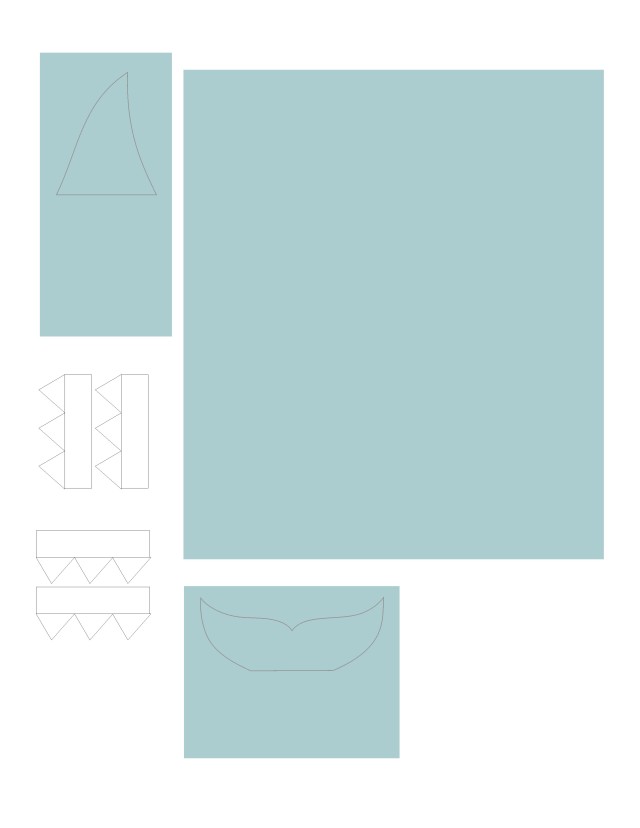 Trim out the blue tail fin box and fold in half on the tailfin line. Then trim out the tail fin shape. Glue together the flaps and you have a two sided colored fin. Do the same thing for the top fin as well.