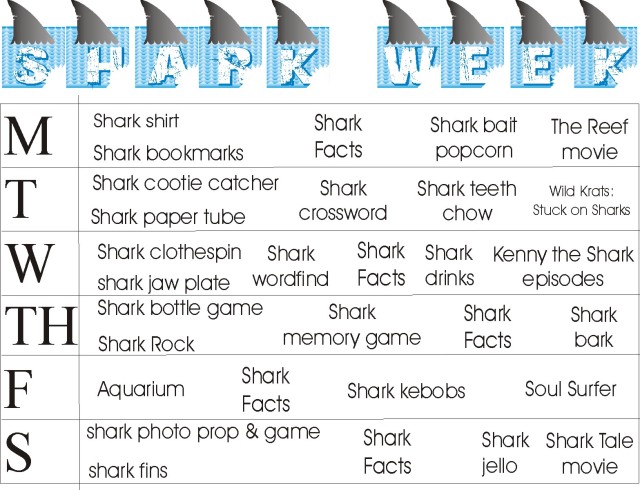

Day of the Dead – Dia de los Muertos – Masks
Today in our homeschool, we are going to introduce some of the aspects of Dia de los Muertos – Day of the Dead. Then we will do a couple projects. One of our projects will be to make or color our own Dia de los Muertos masks (instead of painting our faces). I thought I would go ahead and share the page before I do my recap that way any of you who would like to use the printable for this year, could also take part in our fun craft.
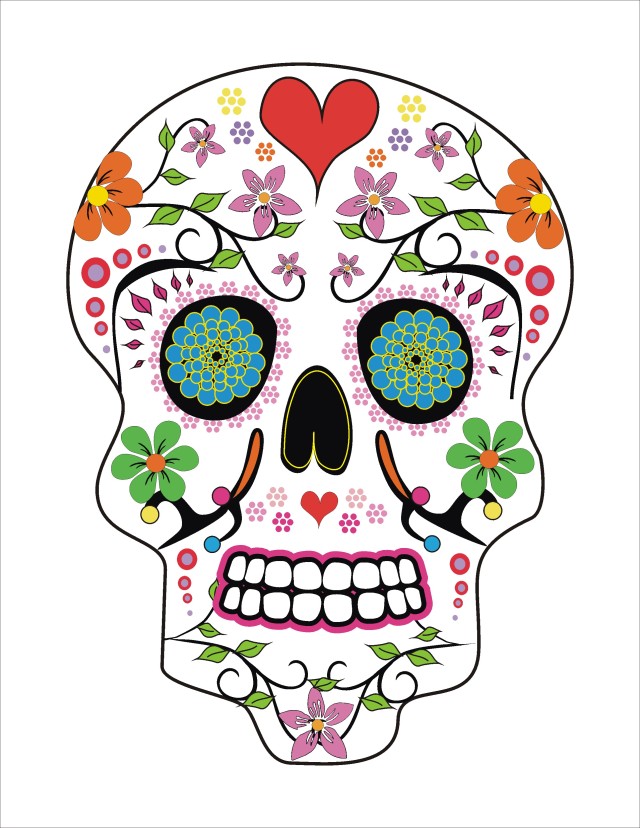
I explained to my children that Dia de los Muertos is not the same or affiliated with Halloween. And that our culture we live in has taken the two and combined them. As I read in a few of the links, Halloween is about self: decorating yourself, getting yourself candy, partying for yourself. Dia de los Muertos is about giving to those who have gone on – to those outside yourself. It is about remembering. The skull – when affiliated with Halloween – is thought of as scary and morbid. The skull – when affiliated with Dia de los Muertos – is thought of as a reminder, not of something morbid, but of those who were loved and have gone on. It is a symbol of love and happiness of those past.
When I looked up why those who celebrate wear masks or paint their faces, I got a few different answers. Some said they wear the masks to poke fun at death. Some said they wear them in honor of those (representative) who have gone on before them. Some say they wear them as a reminder that we are all the same and we all will face the same fate…death. Either way, the masks we are presenting here are not given or taken lightly. These are simply ways of allowing children to experience or understand another culture. I will explain to my children that this is not like Halloween makeup, but that this is part of ceremony and culture and deeply ingrained in the beliefs of those who celebrate their lost loved ones. This is not shared to be disrespectful, but as a means for those who would like to learn more about other cultures.
Here are a few links that tell about why (and how) people paint the skulls on their faces and also why the skulls are used and their meanings:
Sugar Skulls’ status in popular culture: What is their meaning and where do they originate from?
https://holidappy.com/holidays/Meaning-Dia-de-los-Muertos-Face-Painting
https://holidappy.com/holidays/Meaning-Dia-de-los-Muertos-Face-Painting
http://www.newsweek.com/day-dead-dia-de-los-muertos-sugar-skulls-696811
I have included a colored mask version (for those who only want a printed mask), a black and white version with designs for coloring, and a blank canvas one for those who wish to add their own designs and colors. I hope you enjoy!


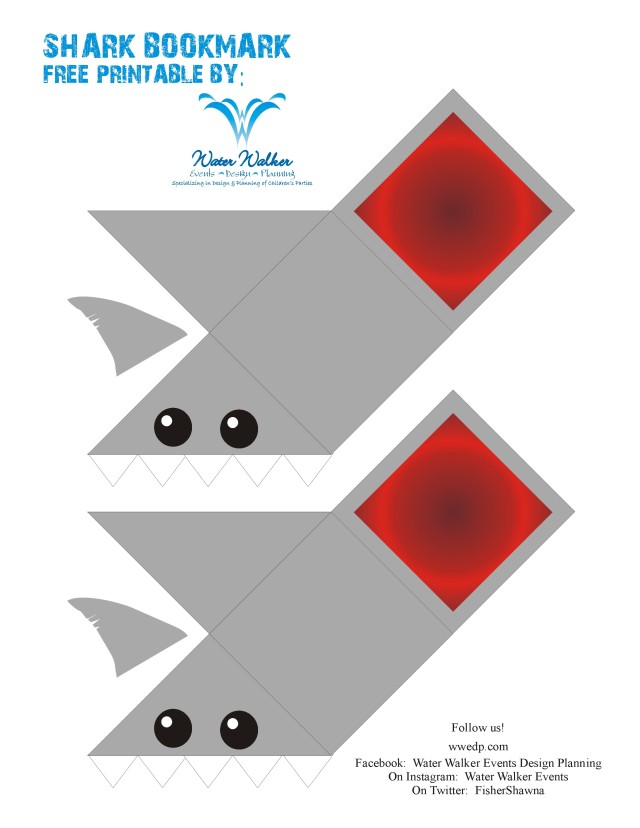
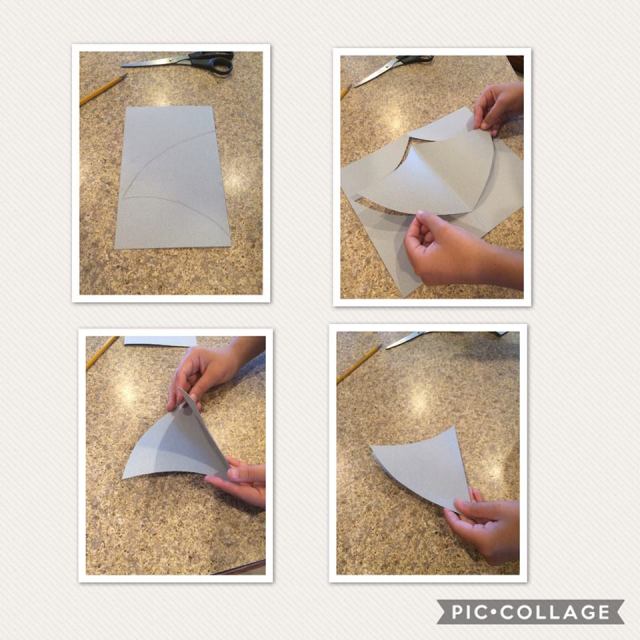
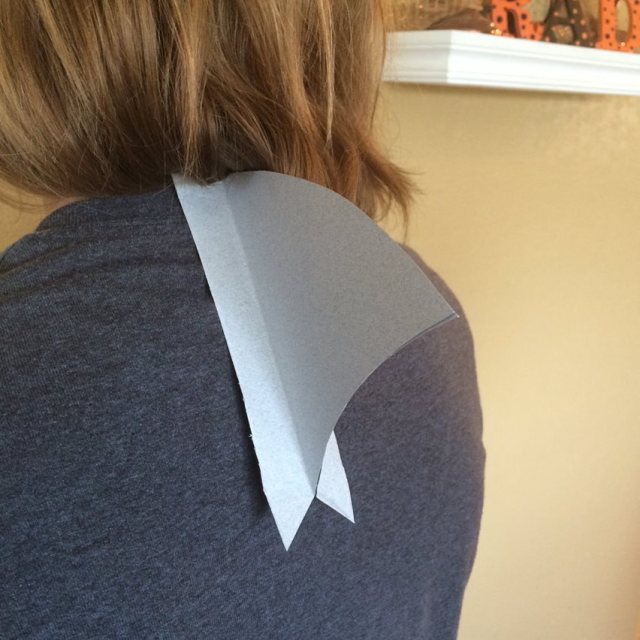
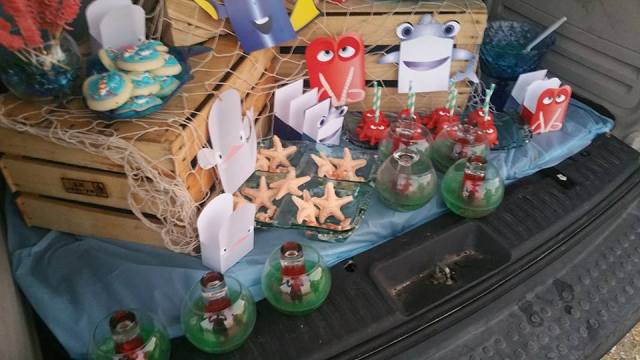
 Trim out the blue tail fin box and fold in half on the tailfin line. Then trim out the tail fin shape. Glue together the flaps and you have a two sided colored fin. Do the same thing for the top fin as well.